
Bathroom Wall Panel Installation Guide
Many people are still unsure of how bathroom panels work and how to install them, this guide will help you understand where bathroom wall panels can be installed and how to install them quickly and easily.
I. Where can the bathroom wall panels be installed?
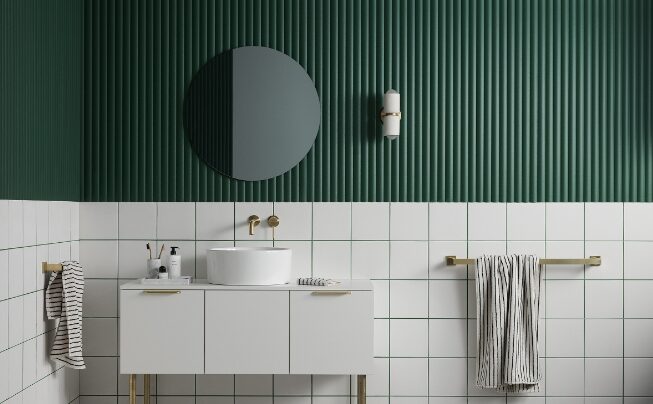
Bathroom wall panels can be installed in shower enclosures to provide a waterproof solution for tiles! Large shower panels are often used in such cases. They are perfectly sized for those who want a simple, easy and stunning installation.
Bathroom wall panels can also be used as accents in full bathrooms, wet rooms, utilities, and offices. Customers from all over have installed them with great success in gyms, pet grooming rooms and caravans/campers.
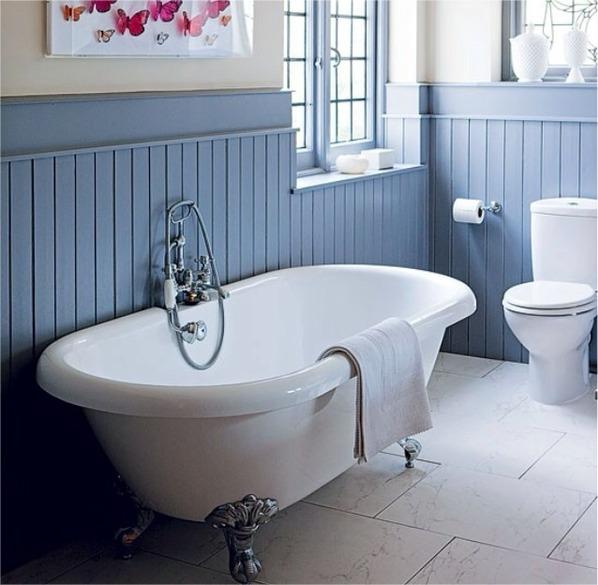
In a domestic environment, almost any other wall covering such as tiles can be installed. However, the surface of the shower wall panel is uneven. You can also install the shower panel directly over existing tile or wallpaper. As with any new covering, you’ll get the best installation results with smooth new plaster and sealed walls.
Wall cladding can also be installed in kitchens for a hygienic, clean effect. Note that if you wish to place the panel behind a cooker/gas range, you will need to place a Pyrex panel in front of the panel as they are not designed to exceed 50 degrees.
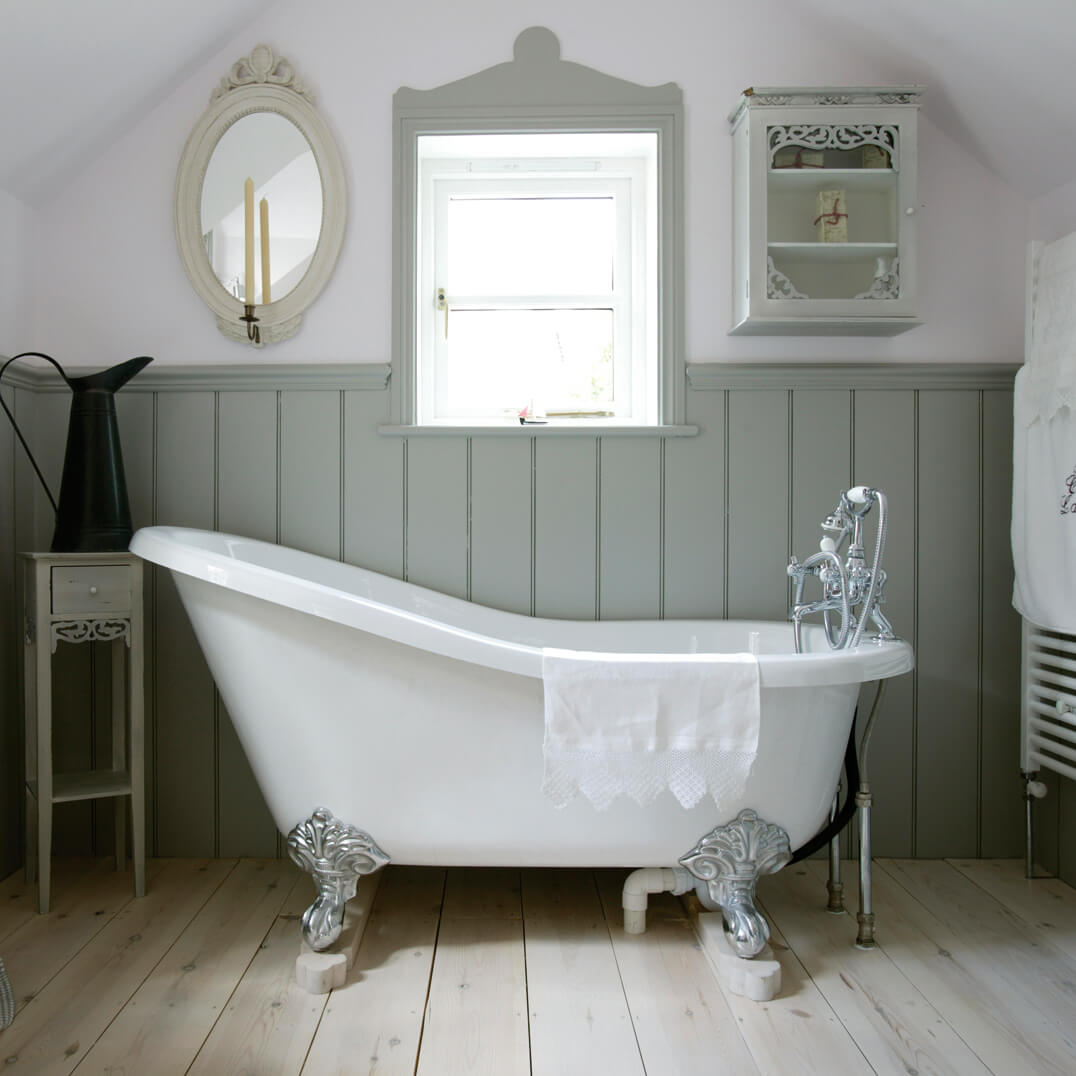
PVC panels can also be installed on the ceiling to make your room appear larger. Put down the paint roller, say goodbye to neck pain, and installing ceiling panels will be a game changer. As a suggestion, we recommend that you purchase 12mm countersunk screws for the ceiling for extra assurance. These can be fitted to the tongue part of the panel while the glue cures and covered with the next aligned panel.
II. How to install bathroom wall panels?
Shower wall panels can be installed on most surfaces including tiled bathrooms, drywall, wood battens, plastered or skim walls, and existing panels. Always be aware that panels will also depend on the strength of the surface they are attached to.
Start by cleaning the surface of the tile wall. Remove all dirt and debris from the surface so the adhesive will adhere properly and bond the new paneling to the surface.
Installation kit includes:
– Assembly Guide
– Dual purpose transparent sealant
– Roll of foam tape
– Sand pad
– Tile spacers
– Silicone trimming tool
– Glue gun
– Goggles
– Tape measure
– Sharp blade
– Electric or fine tooth saw
Source: https://retromania.cz/tongue-and-groove-bathroom-wall-panels
1. Measure the area where the wall panels will be installed. This includes horizontal and vertical. Bathroom wall panelings can be installed on several surfaces such as tile and drywall.
2. Take your panel and lay it face up flat on the stand, then mark the cut line on the panel. Strips of tape will help protect the edges while cutting the panels to size.
3. Use a chainsaw to carefully remove excess wall panels. Remember to wear safety goggles when using these tools. We’ll use chrome trim to give our edges a nice clean finish. So we are removing the tongue and groove joints on both sides of the panels. Some trim pieces may have to be tightened with a screwdriver or power drill.
4. Take a sanding pad and run it along all the cut edges. This will create a smooth surface and remove any debris. Now, turn the panel over and use a sanding pad to sand the surface. This will allow the sealant to form a stronger bond.
5. To fit the panels together we used corner trim pieces. Apply a small bead of sealant to the wall and put the corner pieces in place. Place the tile spacers under the wall panel locations. This will allow the sealant to be added later. We are now ready to apply the sealant to the back side of the wall.
6. Begin by laying 3 parallel strips of foam tape along the entire length of the board. Then apply the sealant, first in a thin line on the sides, then zigzag the top and bottom for greater coverage. Finish with a large circle of sealer to make sure it’s evenly distributed.
7. Now we are going to attach the end trim pieces to the board. Add some sealant to the inside of the trim, as well as the edges of the bathroom wall panels. Then position the trim in place. After adding some sealant to the corner trim, remove the backing layer from the foam tape.
8. Lift the panel into place and slide it into the corner pieces at an angle. This keeps the tape from sticking to the wall until the panel is in the correct position.
9. Repeat this process with the remaining bathroom wall panels, again making sure they are positioned correctly before firmly smoothing. If you want a less obvious joint, you can use a tongue and groove joint. By adding some masking tape here, we can maintain a nice, clean finish while applying the sealant.
10. Slide into place and remove the tape. Make the connection by running a silicone trimming tool along the groove.
11. Use the same technique when sealing the panels to the floor. A little sealant and you’re done.
Source: https://retromania.cz/tongue-and-groove-bathroom-wall-panels
III. Do I need to buy anything else for the shower panel?
Whether you want to buy trim such as veneer is entirely up to you. There are various decorations, all designed for one or more purposes. Below we explain where to use these decorations in your room.
1. End Caps
Used for wall panels for bathrooms run or against skirting boards. These are also great for gaps between your doorways and panels
2. Coving Trim
For intersections between walls and ceilings. Can be used in shower trays and bathtubs.
3. Inner corner
For inner corner.
4. Outer corner
For outer corners.
5. Rigid angle steel
Used for window frames and door frames. Can be used on outside corners.
6.Joining Trim
Join two panels together (from top to bottom).
You’ll need to buy some silicone to stick them to the wall. The silicone/adhesive you use needs to be suitable for the PVC product.
I hope this installation guide can help you install wall panels when remodeling the bathroom at home. If you have any questions, please contact our email: furnishing3@georgematerial.com !
Quick Quotation


