
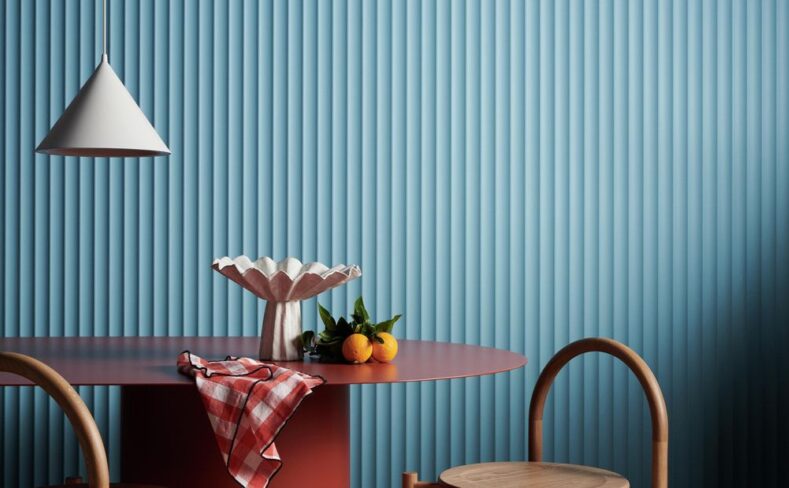
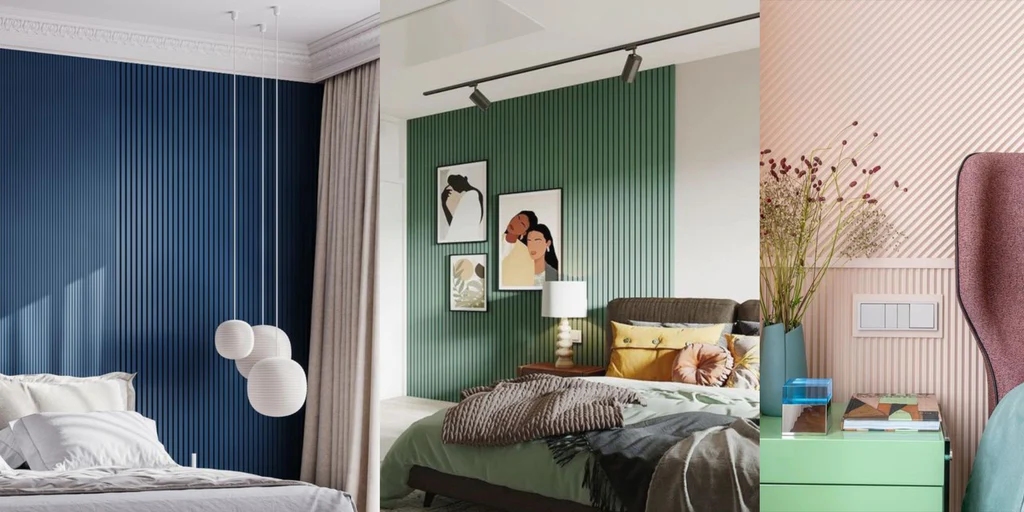
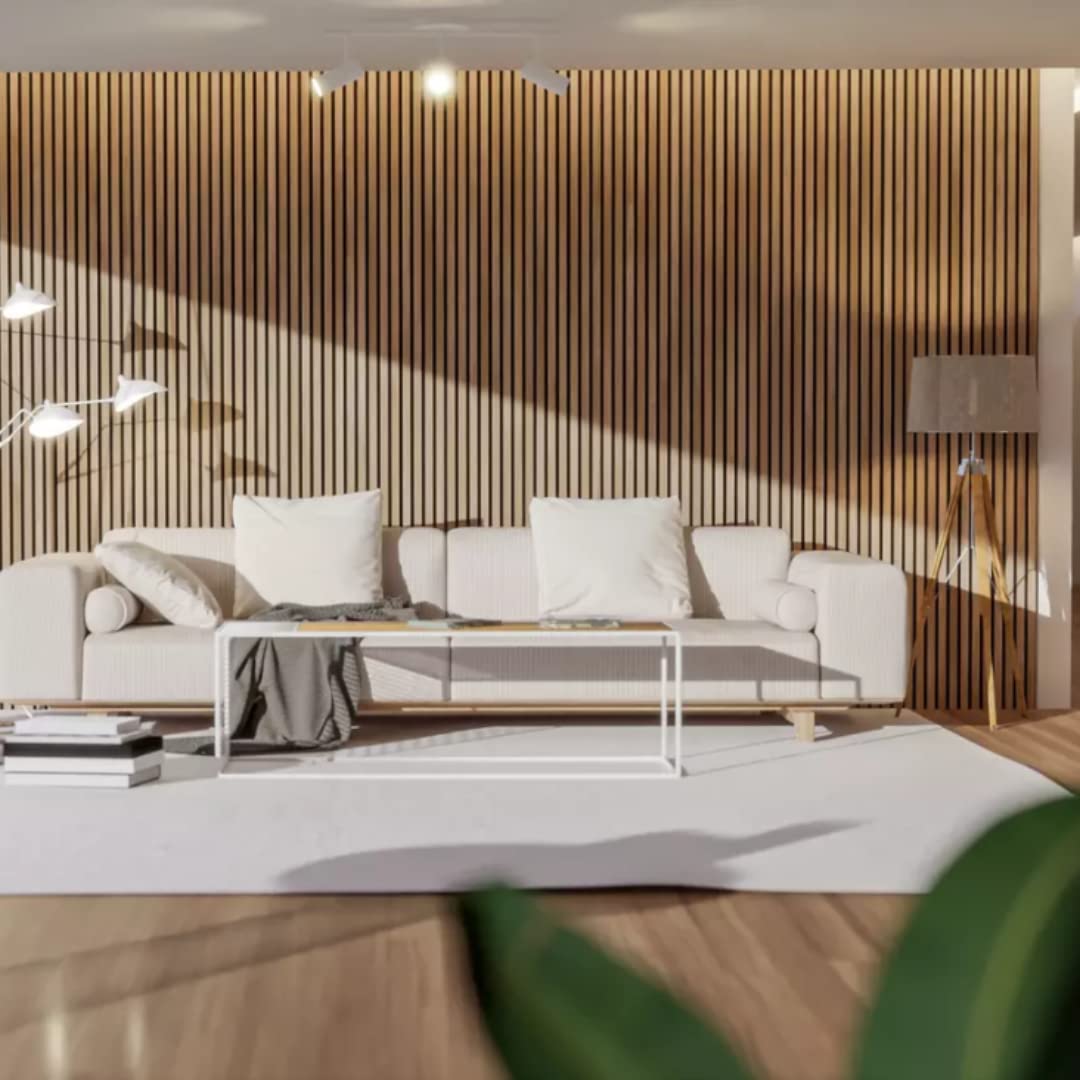
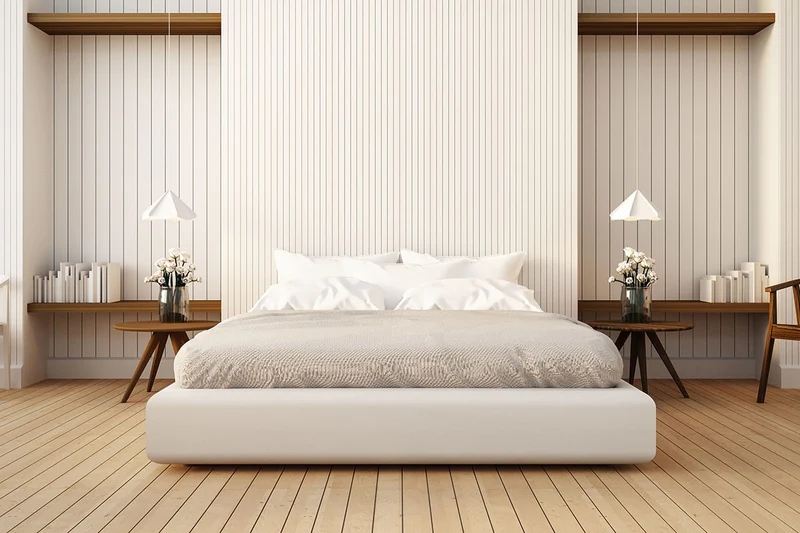
Different Installation Methods for Different Wall Decoration Materials
Wall decoration has an extremely important impact on the aesthetics of the entire home. It is one of the determiners of the home decoration effect. You cannot destroy the entire home environment by ignoring wall decoration. Since wall decoration is so important, what materials are there? Can it be used to decorate walls? Wall decoration materials cannot be ignored. Next, we will introduce wall decoration materials such as ceramic tiles, wallpapers, paints, diatom mud, mosaics, and WPC wall panels respectively.
Different wall materials require different installation methods to ensure decorative effect and service life. This article will explore several common wall decoration materials and how to install them to help you make informed choices during the renovation process.
Related Articles
Bathroom Wall Panel Installation Guide
Creative Color Schemes for Wall Panels
WPC Wall Panel: Blending Elegance, Functionality and Innovation
I. What are the main wall decoration materials? And how to install them respectively?
*Notice:
Before any wall material is put on the wall, the flatness of the wall must be processed.
1. Wallpaper mounting
Wallpaper is based on paper, coated with plastic preparations, and glued to the wall. Its hygroscopicity and air permeability are poor, which is one of its disadvantages.
– Installation method
Before applying wallpaper, the wall surface must be treated to make it smooth and free of unevenness, peeling and other defects. Apply glue to the back of the cut wallpaper. After applying, fold the glued side and leave it for 5 minutes. After the glue completely penetrates the bottom of the paper, you can put it up. You can apply several pieces of wallpaper at a time and put them up one after another. Finally, use a scraper to gently scrape the wallpaper from top to bottom, from the center to the surroundings, squeeze out air bubbles and excess glue, and make the wallpaper smooth and close to the wall.
2. Wall covering pasting
There are three types of wall coverings: fiberglass printed wall coverings, decorative wall coverings and non-woven wall coverings. Its advantages are firm, breathable, flame-retardant, sound-absorbing and sound-absorbing. Wall coverings need to be used in conjunction with luxurious room decoration to enhance artistic taste.
– Installation method
First, smooth out the flatness of the wall and measure the length of the wall from one inner corner to the other. Then cut the wall covering according to the length of the wall, and then apply glue evenly on the wall. Finally, stick the wall covering to the wall. Special reminder, wall covering and wallpaper are different. The glue used when pasting the wall covering is applied to the wall, not the wall covering.
3. Paint decoration
There are three types of paint: solvent-based paint, water-soluble paint and latex paint. It is characterized by being stable, non-toxic, breathable, flame retardant, odorless and cheap.
– Installation method
First, smooth the wall surface first, and then repair the uneven parts of the wall surface by scraping putty twice. Then you can apply primer and paint it evenly, and then repair it. Pay attention to sanding it evenly, and then you can paint it. of work.
4. Paste ceramic tile surface
Ceramic tiles are smooth, hygienic, do not absorb dust and are easy to clean. Mostly used for decorating walls in kitchens and bathrooms.
– Installation method
First, smooth the flatness of the wall, then spread cement mortar on the wall, then apply the cement mortar to the back of the tiles, and then spread the tiles evenly on the wall. You can follow this operation and so on. , to paste the next tile.
5. Mosaic pasting
The smallest material for wall decoration is mosaic. It is primarily used to decorate bathrooms and balconies because it is very stylish, sturdy under pressure, low water absorption, resistant to acids and alkalis, and impermeable.
– Installation method
First, use cement slurry to smooth the wall surface before paving. Then use the same cement slurry just used to fill the gaps on the back of the mosaic. As soon as possible, lay the mosaic that has been filled with grout neatly in the direction of the trademark arrow, and use a flat plate. Shoot.
6. Diatom mud
Diatom mud is an environmentally friendly interior wall decorative wall material using diatomite as the main raw material. It has the functions of eliminating formaldehyde, regulating humidity, and releasing negative oxygen ions. Customers adore this new decorative material that has entered the home décor market recently because it is made of natural resources, is healthy and safe for the environment, doesn’t hurt people’s health, and has a three-dimensional shape.
– Installation method
First, use a small spatula to check the flatness of the wall, add an appropriate amount of water to stir the diatom mud until the consistency is suitable before use, then start painting the wall, first apply it evenly to about 1 mm and then finish , and then paint a second time with a thickness of about 1.5 mm, so the final total thickness is between 1.5 mm and 3 mm.
7. Wood/solid wood veneer
Solid wood wall panels have the advantages of being lightweight, fireproof, moth-proof, easy to construct, elegant in shape, safe to use, obvious decorative effect, and easy to maintain.
– Installation method
First, show the plan we need to set up on the drawing, and then start to lay out the lines and drill holes. Use stainless steel expansion bolts to inlay the special keels of the solid wood wall panels on the wall. Pay attention to that they must be strong enough and the distance between them should be the best. It is about 60cm, then use angle head bolts to fix the solid keel on the special keel, and then place the solid wood wall panel on the solid keel, which must be fixed well.
8. WPC wall panels
WPC wall panels are mainly made of wood (wood cellulose, plant cellulose) as the base material, thermoplastic polymer materials (plastics) and processing aids, etc., which are mixed evenly and then heated and extruded by mold equipment. High-tech and environmentally friendly new decorative materials.
– Installation method
For different types of WPC wall panels, the installation methods are also different. Generally speaking, there are roughly three differences, namely whether the keel needs to be made, whether there are slots at the joint, and whether the fixation method is screws or glue. We will focus on the installation methods of different wall panels in the second major point.
WPC wall panel is a green and environmentally friendly decorative material that has emerged in recent years. Due to its good performance, it is now increasingly valued and favored by some commercial, office, villa and other buildings. So, what are the differences in installation methods of different types of WPC wall panels? Next, we will focus on introducing you to the installation method of WPC wall panel.
II. What are the differences in the installation methods of different types of WPC wall panels?
1. Great wall board (keel, fixed with screws)
The f50 Great Wall Panel and the F75 Great Wall Panel can be installed without keels, while the F45 Great Wall Panels need to be installed with keels. The installation with keels is more efficient. The first step is to weld the steel frame, the second step is to install the keel, and then use screws to fix the keel on the steel pipe. The third step is to fasten the Great Wall plates on the keel, one by one in order. When there are more Great Wall plates, they need to be cut. The machine cuts off the excess part, and the fourth step is to wrap the edge and close it. When you buy the Great Wall board, the manufacturer has matching binding. Driving screws on the side will not affect the appearance, and the effect after binding is very good.
2. Outdoor wall panels (keeling, screw fixing)
The first is to install the keel. Use wood-plastic keel. First drill a hole in the keel and the wall, and then drive in American nails. After the keel is fixed, you can install the wood-plastic board. The installation of wood-plastic wall panels does not require accessories. Yes, just use screws to directly fix the wall panel. The screw heads will not be exposed after installation and will not affect the appearance.
The splicing interface adopts a male and female groove design. Use flat-head screws to install on the female groove and buckle one piece at a time. The installation is very convenient. The design of the male and female grooves can effectively prevent rainwater from penetrating.
3. Ceiling strip series (keel, screw, glue fixed)
Before installing the ceiling, install the hanging ribs and fix the keel. Fix the keel, apply nail-free glue on the bottom of the keel, cut to size, the ceiling strips are divided into male and female grooves, the male groove is in the front, the female groove is in the back, and the clamps are fastened on Fasten the edge of the mother groove with screws, and install the next piece in sequence. The last piece is closed, and some more nail-free glue is applied to the edge. Because the last piece cannot be fastened, use a straight nail gun to simply hit it a few times.
4. Customized background wall
Customized background wall panels consist of baseboards, sponge interlayers, facing leather and shaping strips. The installation methods of soft bags and hard bags in customized background walls are different but also the same. The same thing is that both need to use plywood as the base board before installation. The difference is that soft bags need to be sandwiched with sponge between the fabric and the base board, while For hard bags, the fabric can be directly attached to the base plate.
5. Grating, wooden grille (fixed with glue and nails)
First, measure the required size of the wall panel, then use a saw to cut the grille, prepare glass glue and foam glue, apply glue on the back of the grille, and apply the glue evenly, then stick the first piece on the wall For the grille, the clip is fastened to the edge of the mother groove, click into the buckle, and fix it with nails. Then insert the next piece of grille, fix it with nails, and install it in sequence.
6. Bamboo wood fiber (glue, nail fixation)
Apply expansion glue to the back of the wall panel, and snap the matching fixing buckles into the mother grooves of the wall panels. The buckles can be directly fixed with steel nails. Before applying glue to each wall panel, first install the fixing buckles, and then add them. Use expansion glue to fix each wall panel in sequence. When you encounter a socket, remember to measure the size of the socket and use a sewing machine to cut out the socket. After installation, there will be gaps up and down. Use closing lines to close the gaps.
7. Wooden veneer panel (fixed with glue and metal strips)
Measure the height of the wall, determine the height of the waist line, use an ink fountain to stretch the line, first make a note, fix the height of the waist line of the wood veneer, cut the wood veneer panel according to the size, put structural glue and foam glue on the back of the panel, and align the wire box Snap the I-shaped strip into place, install the next piece in sequence, and then fix the I-shaped metal strip to keep all wall panels installed horizontally and vertically.
8. Sound-absorbing panels (bonded and nailed)
First, lay the wooden keels with a spacing of 30-40cm between the keels, leaving the distance between the wall and the sound-absorbing panels, and then fill it with sound-absorbing cotton. Finally, splice the sound-absorbing panels, slot them together, drive straight nails from the gaps, and fix the sound-absorbing panels. On the keel.
9. Fiber cement board (keel, screw fixation)
First, make the steel structure frame, cut and drill the panels, lay the panels, fix them with flat-head self-tapping screws, and then fill the gaps with structural glue.
III. What are the advantages and disadvantages of wall panel installation compared to the installation of other wall decoration materials?
1. Coating vs. WPC Wall Panel
Advantages
Painting the wall is cheaper than WPC Wall Panel installation in terms of price and labor costs.
Disadvantages
Applying paint to the wall requires higher flatness and completeness than the installation of WPC wall panels, because if there are cracks or gaps in the wall, it will have a great impact on the application of paint, but when installing WPC wall panels, if If the wall is uneven, you can lay a baseboard to solve the problem of incomplete walls.
2. Wallpaper vs. WPC Wall Panel
Advantages
Wallpaper pasting is cheaper than WPC Wall Panel installation in terms of price and labor costs.
Disadvantages
Glue will be used during the laying process of wallpaper, which will produce a certain amount of formaldehyde. However, the installation of WPC wall panels using screws and other fixing methods will not only produce no smell that is harmful to the human body, nor will it affect the appearance.
3. Ceramic Tiles and Mosaics vs. WPC Wall Panel
Advantages
Compared with WPC Wall Panel, the installation process of ceramic tiles and mosaics on the wall is simpler and the steps are single.
Disadvantages
While WPC Wall Panel installation can be done on any indoor wall surface, tile and mosaic installation is limited to specific walls and is most frequently done in kitchens and bathrooms. The cost of priming, mortar, and labor for these installations is higher than that of WPC Wall Panel.
4. Solid wood VS WPC Wall Panel
Advantages
Compared with some types of WPC Wall Panel installation that require the use of glue, the base of the log wainscot panels is made of natural pure wood slats, without veneers or interlayers, so the products produced use the least amount of glue. Installation is odorless. If the room is decorated as a whole, there is no need for painting, which solves the problem of time-consuming decoration materials and the lingering smell of paint.
Disadvantages
Before installing solid wood, the wall needs to be moisture-proof. Because the wood has a high moisture content, it will easily shrink after drying and cause the joints to crack. However, the material of WPC Wall Panel itself has moisture-proof properties, so it does not have much impact on the moisture on the wall. Big request.
IV. Conclusion
Choosing the right wall covering material and installing it correctly are key to ensuring a beautiful, durable home. Different decorative materials have their own unique characteristics and installation requirements, so be sure to give them full consideration when selecting and installing them.
I hope the information provided in this article can be helpful to your decision-making in wall decoration, making your home space more warm and beautiful. If you have any other ideas about wall decoration, please feel free to contact us!
Quick Quotation


