How to DIY Shaker Wall Panels?
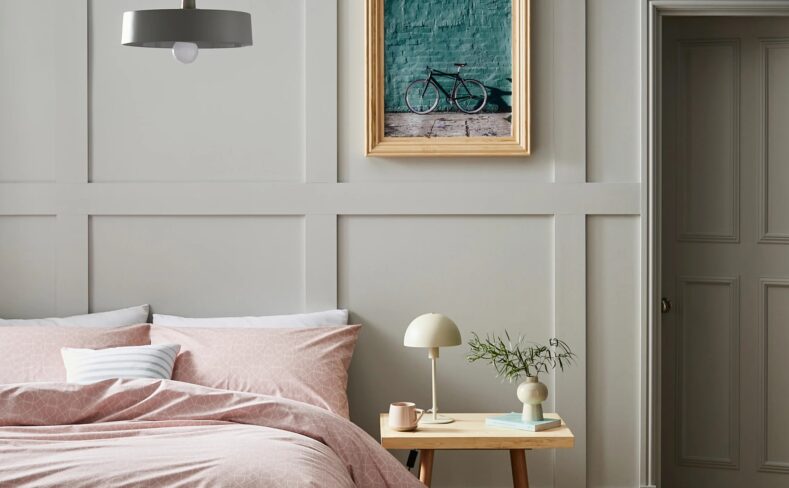
Shaker style wall panels add a classic and sophisticated design element to the home, providing the perfect solution for a fusion of minimalist and traditional styles. Its simple yet elegant appearance is full of respect for the traditional art of woodworking, making it one of the most respected design styles in interior decoration.
Are you eager to add some warmth and character to an empty wall in your home? Or want to explore a new and classic DIY project? Making shaker style wall panels may be the perfect option for what you are looking for.
Related Articles
Shaker Wall Panel: Traditional Beauty, Modern Application
The Design Art of Classic Shaker Wall Panels
Custom Wall Panels: Personalized Design Solutions
This article will introduce you to the steps and techniques for making Shaker style wall panels. Whether you are an experienced woodworker or just entering the DIY field, you can get inspiration from it. Let’s discover how to create stunning Shaker style wall panels using simple wooden boards and creativity!
I. Collect tools and materials
First, you need to make sure you have the right tools and materials to complete the project.
– Pine/Solid Wood/MDF Board (Typically 1/4″ to 1/2″ thick)Nail gun/nails (for securing siding)
– Miter saw (for cutting wall panels)
– Caulk (fills gaps between panels)
– Carpenter’s glue (to fill gaps between boards)
– Electric sander (sanding wall panels)
– Polisher
– Tape measure (measure length, calculate area)
– Primer
– Paint (oil brush Shaker siding)
– Roller brush (oil brush Shaker wall panel)
– Brush (mark location)
– Laser level
– Adhesive tape
II. Steps to DIY shaker wall panels
Step 1: Measure the wall
The trick to successfully installing shaker wall panels is to measure the walls ahead of time. You’ll need to choose which wall to accent on and measure the wall so you can determine the complete wall design. Measure the wall from side to side and top to bottom.
When doing a shaker style design, the goal is to have each frame be a perfect square and all the same size. Before purchasing a shaker MDF wall panel kit, it is important to measure the surface area. You won’t know the number of slats you need until you take your measurements.
Measure the entire width and height of the wall you plan to panel, taking into account things like baseboards, recesses, plug sockets and installed furniture. Be sure to double-check your measurements to make sure the siding will fit.
Step 2: Create your design plan
Once you know your measurements, you can create a design plan. We asked the lead architect to draw up the design for this wall.
If you’re a visual person like us, you can also use SketchUp or Illustrator to mock up your design. Otherwise, a hand-drawn sketch will do.
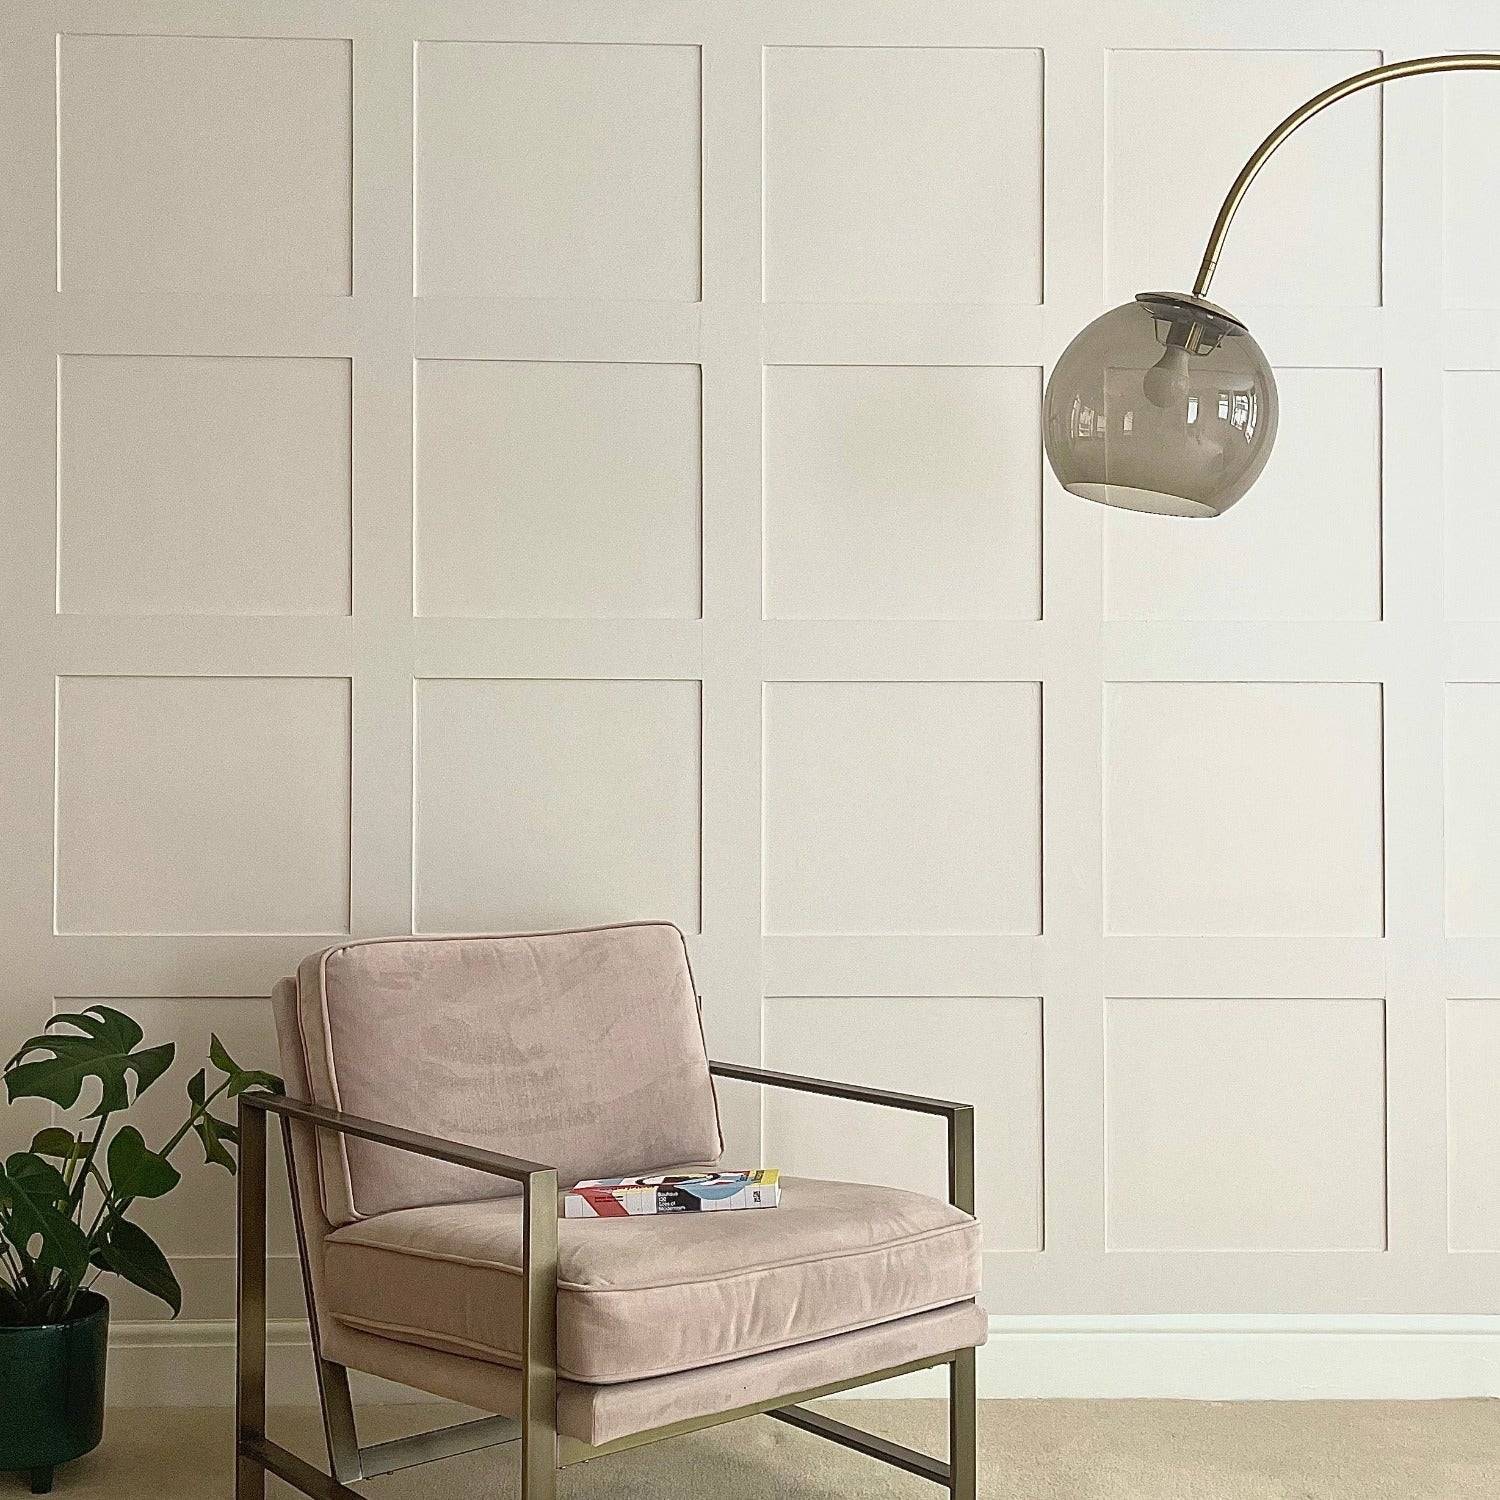
We did 5 squares by 5 squares. The wall is 133 inches wide and 108 inches high.
If your walls are not that tall, wide, or even larger, the number of horizontal and vertical frames does not have to be the same. These are the dimensions of our wall design.
To calculate the spacing, we took 133 inches (the length of the wall) – 21 inches = 112 inches
We then divide that number by 5, 112 inches/5= 22.4. This gives us the size of each space to be 22.4 inches.
– 133 inches is the overall width
– 21 inches is 6 vertical boards times 3.5 (1×4, which is actually 3.5 inches wide)
– 5 is the amount of space we will have
Step 3: Draw horizontal and vertical borders
Place your levels and pencil over your design. We used a laser level so we could see the light and follow it perfectly in a straight line. He then used a level to draw the lines in pencil.
Then, you need to border your edges with wood. The sides, bottom and top may not be perfectly straight or level/vertical. To get your level and plumb, you can scribe, which simply means mounting the woodwork to the wall or ceiling and the planks to the wall or ceiling. Or if the gap is too large, you can use caulk to fill it.
Step 4: Inspect your Shaker MDF wall panel kit
This may seem like a silly step, but you should check your Shaker MDF siding kit beforehand. You need to make sure you have the correct number of strips and that they are in good condition. If the MDF strips are too long to achieve the look you want, simply cut them to the desired size to form the outer frame.
You can cut MDF battens using a variety of different tools: a table saw, miter saw, circular saw, hand saw, or an old-fashioned utility knife. Make sure that if you do cut the strips, sand them afterwards to leave a smooth edge.
Step 5: Beautify your walls
Before you start attaching shaker siding, it’s crucial to give your wall some touch-ups. What do we mean by modifying them? Essentially making sure they are flawless. Initially, you need to check the walls for lumps and bumps. If you find any of these flaws and they do not affect the overall structure of the wall, for example: a large hole, you can repair them yourself.
You’ll want to sand away any lumps or bumps and make sure the wall is nice and smooth. If you have a large area to cover or are like us and find sanding boring, you can use an electric sander.
Small holes can be filled and sanded until they are no longer noticeable. You’ll need to sand the wall to ensure the MDF siding is installed on a flat surface, otherwise it might ruin all the lovely symmetry you’re trying to achieve.
It is best to paint the walls white before applying the siding to ensure that the color on the wall will match the siding when the final color is applied.
Step 6: Fix the wall panels
– Hold horizontal boards in place
Once the border edges are nailed in place, it’s time to hang the horizontal boards. Following the pencil marks, hang and nail them into place.
If possible, find the studs and nail them for a stronger installation. We also put wood glue on the ends and adhesive on the backs of all the boards to hold them in place when moving and nailing.
– Nail vertical boards in place
Once the horizontal boards are all in place, it’s time to cut, fill, and nail the vertical boards into place. The length of each board should also be measured accurately.
Step 7: Assemble the Frame
– Assembling the frame
Assemble the frame first, using carpenter’s glue and nails or screws, assemble the frame by attaching the long panels to the wall according to the design of the frame. Typically, you’ll install long horizontal and vertical strips first and then fill the interior space.
– Fill inside
Fill the inside of the frame with short strips of pre-prepared wood to create a Shaker style interior line effect. These filler blocks should be arranged vertically or horizontally according to the design, depending on the style you want.
When installing shaker wall panels, follow the included installation guide. They will outline the order and direction you need to place them.
Step 8: Adhere shaker wall panel to wall and caulk
To secure shaker MDF wall panels to the wall, you’ll need to use a strong, heavy-duty grip adhesive. To secure the MDF battens to the wall, you should apply the glue to the MDF battens in a zigzag motion. Press the siding firmly against the wall and be sure to let it dry. For extra hold, you can use glue and nails.
Step 9: Check the Gap
Once the shaker wall panels are dry and securely attached to the wall, you should inspect them for gaps. Most walls are not perfectly flat, so you may find there are some gaps that need filling. It’s easy to do, just use decorative caulk to fill the gaps, cover up any imperfections and create a seamless joint.
Step 10: Prime Shaker MDF Wall Panels
How to get a great siding paint job? It’s simple, prime the shaker siding before painting. Before you begin, make sure your shaker siding is securely fastened to the wall and that the caulk is completely dry.
Why is it so important to prime MDF siding before painting? MDF is an incredibly porous material, and if you paint it without priming it first, it will absorb as much of the paint as possible and leave large bubbles on the surface. Eventually it will destroy your MDF siding and you will have to start over. We recommend applying 2-3 coats of primer and allowing drying time in between and after. Once dry, you can begin the painting process.
Step 11: Paint Shaker MDF Wall Panels
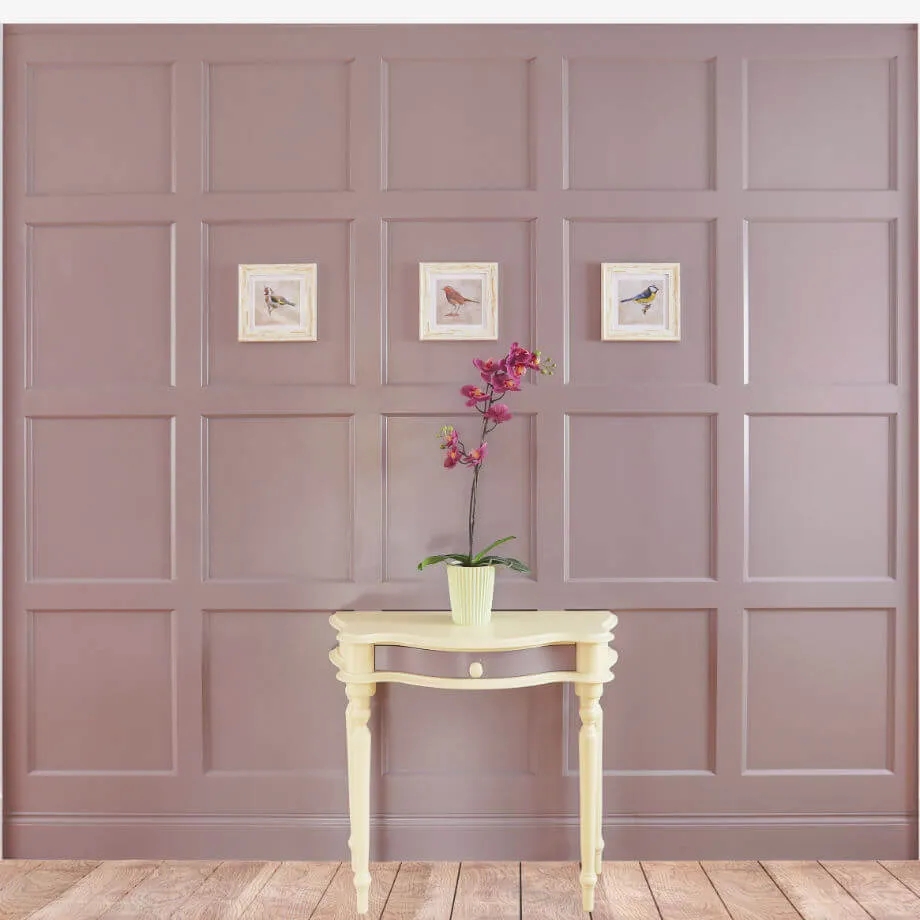
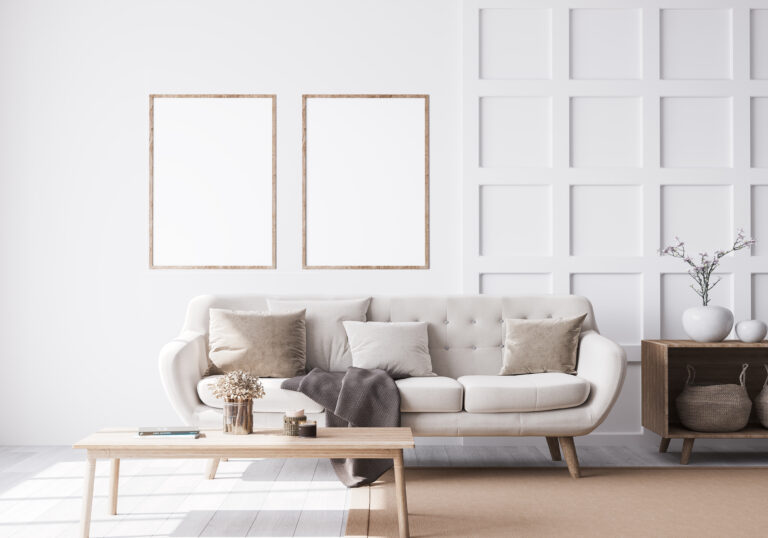
In our opinion, painted shaker siding is the best option. This is real life and you will see all your hard work pay off. Paint is a key element in transforming shaker siding. But how do you achieve the right aesthetic for your home? With thousands of shades, tints and tints on the market, it’s easy to transform your interior siding with just a dab of paint. You can go bold and try deep, rich colors like ivy green, mustard, or raspberry.
Or, if you’re looking for a more subtle palette, there are plenty of pastel shades to choose from, such as dusky pink, sage green or Aegean teal. You can also spice it up with wallpaper, which can be applied above, below or between the wall panels of the space, which is a very modern style that will be popular for quite some time.
Precautions
1. Safety first
Wear goggles and gloves and pay attention to safety.
2. Care and Precision
Be careful and precise when measuring and cutting, ensuring that each piece of wood is consistent in size and angle.
3. Practice and experience
If it is your first time trying, it is recommended to practice on a small area first.
If you are not sure about the difficulty of DIY, you can look for video tutorials online or consult professionals to better understand the entire production process.
III. Conclusion
Making shaker style wall panels is a creative and fun DIY project. With precise measurements, careful assembly, and careful painting, you can add unique design charm to your home. While this may take some time and effort, the end result will be worth it.
Whether you’re a professional woodworker or a novice, you can try making Shaker style wall panels. There may be some challenges along the way, but don’t give up. As you continue to learn and experiment, you’ll master the techniques and complete work you’ll be proud of.
Hopefully this article has provided you with some useful guidance and inspiration, encouraging you to try your hand at making your own Shaker style wall panels. May you have fun on your DIY journey and create wonderful home decorations! If you have any questions about wall panels, please feel free to contact us!
Quick Quotation